Tile Showroom
From a room photo and a tile photo to an AI concept, then to physical samples.
The practical approach: ask for one photo of the customer's room, prepare one floor tile photo (and, if needed, one wall tile photo), create a concept in Arch.AI's Tile simulation mode, then compare the result with the reference photo and physical samples before quoting. The AI concept helps a customer picture the colour and feel of the floor; tile size, laying pattern, grout and box count are still decided from samples, measurements and the calculator. The two examples below are results already saved in Arch.AI History, shown with the tile photos that were used.
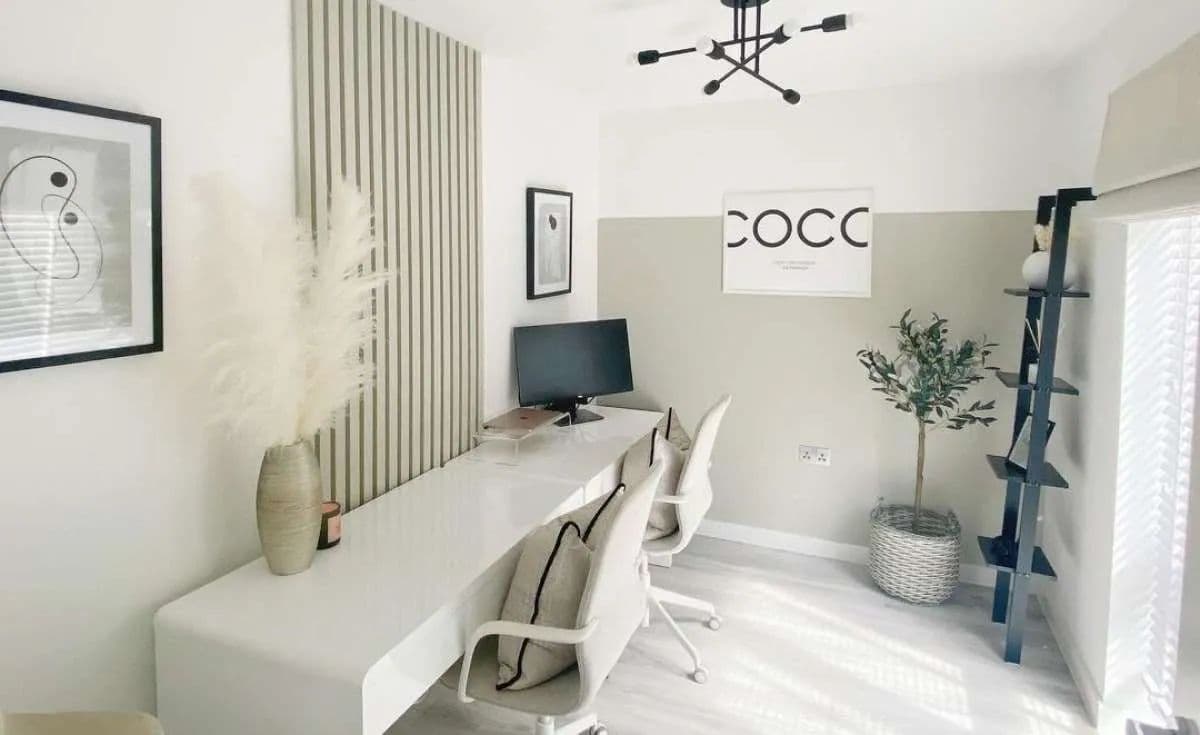
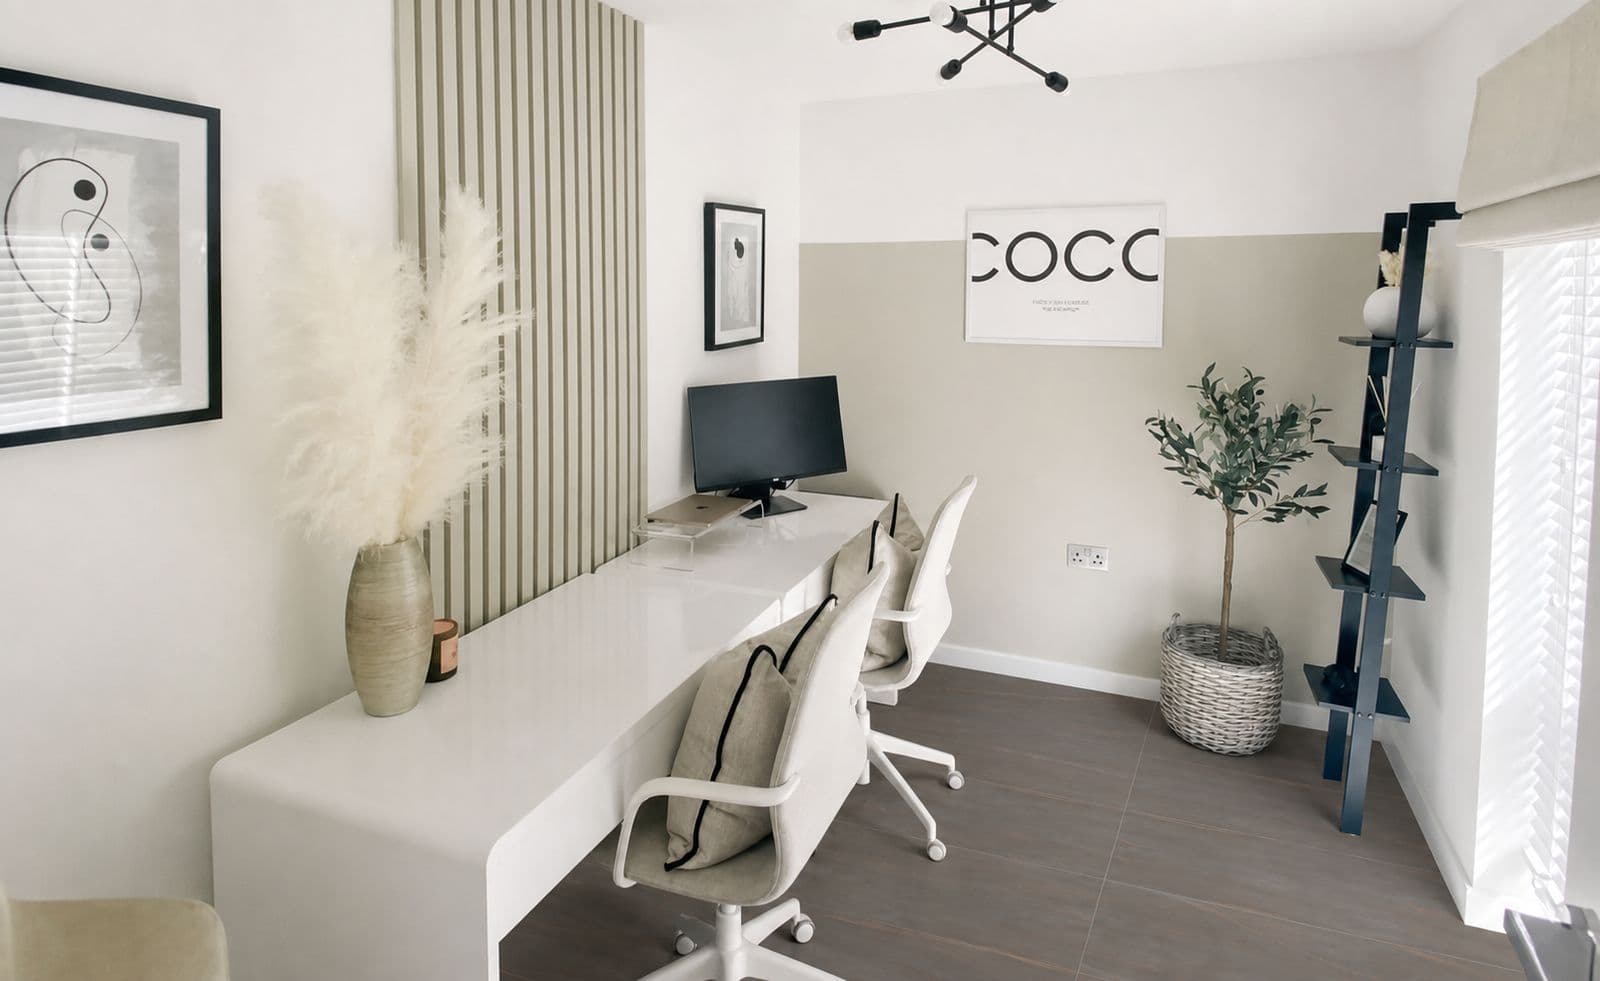
Example 1: Home office: brown-grey stone

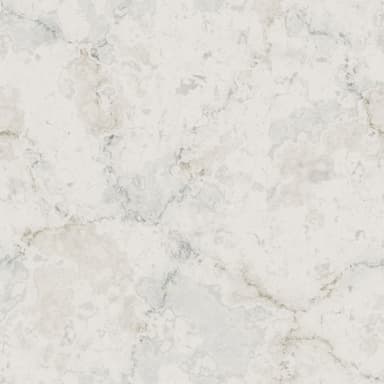
Example 2: Empty living room: white marble
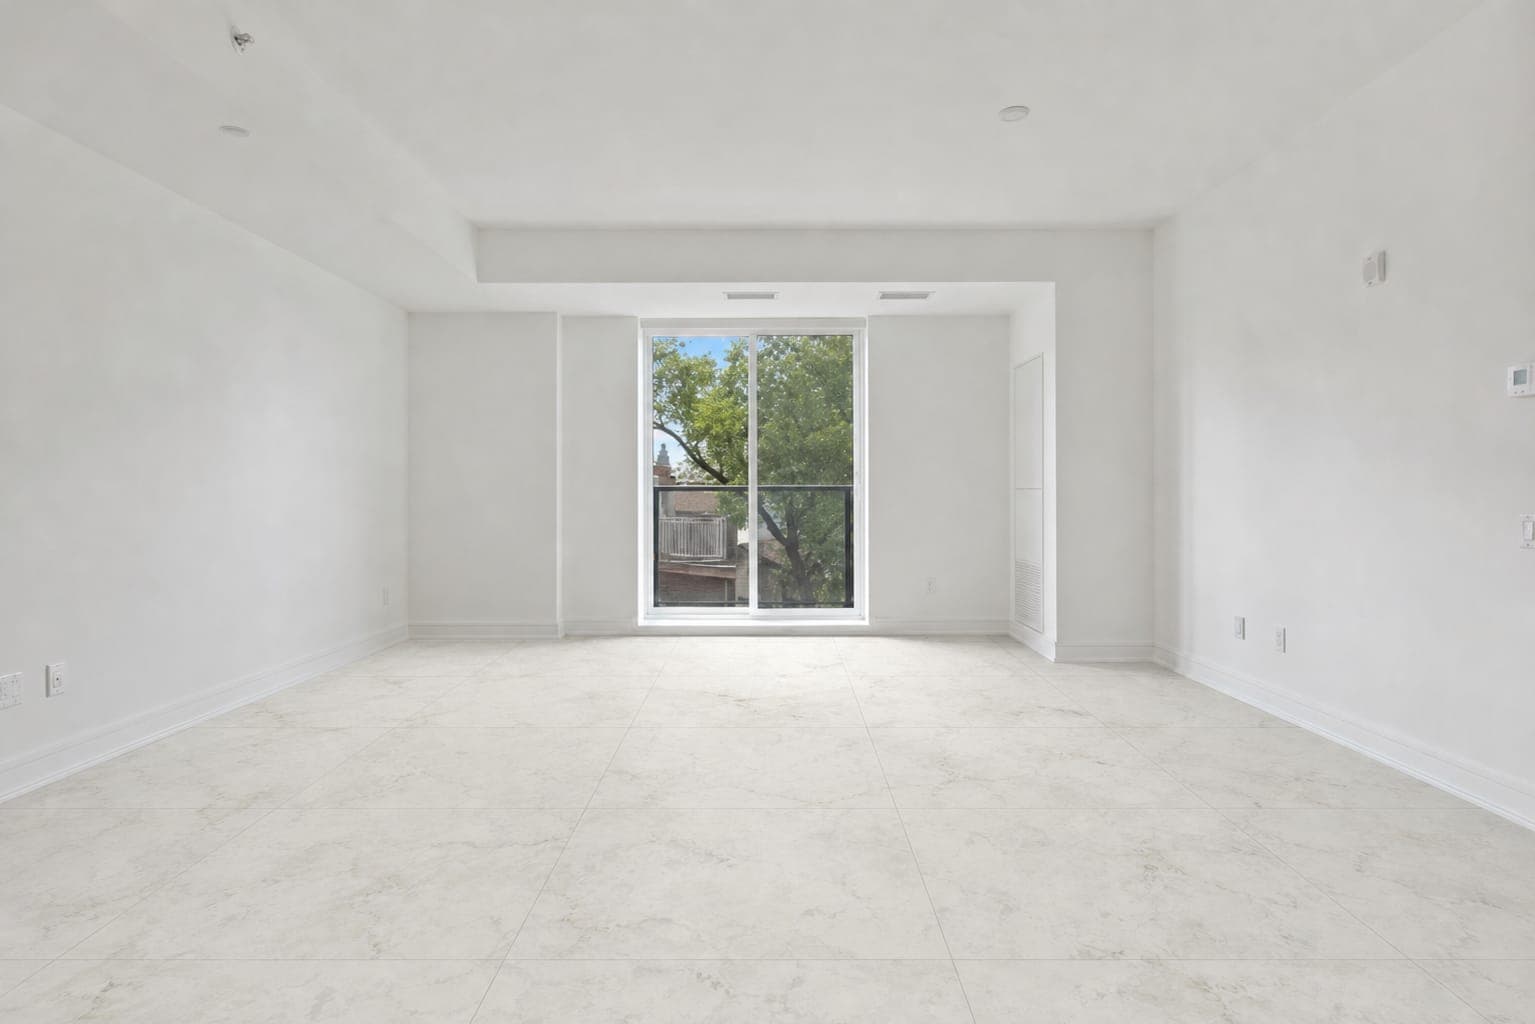
What changed in the AI concept?
Compare the result with the tile photo before showing it to a customer. In both examples the base colour carried over, but the pattern and tile size changed.
| Example | Carried into the concept | Different |
|---|---|---|
| Home office, brown-grey stone | The brown-grey base colour and smooth surface. The whole floor was replaced; furniture and walls stay. | The diagonal copper veins in the reference almost disappeared, so the floor looks nearly plain. The sunlight reflections on the original floor are gone, and the framing shifted slightly. |
| Living room, white marble | A light marble feel with fine veins. The wood floor was fully replaced; walls and glass door stay. | The result is whiter and plainer than the reference: the cloudy patches and grey-green veins are weaker. The original photo is small, so the whole image was redrawn; small details such as sockets and ceiling lights may differ from the real room. |
Tile size, laying direction and grout width in both concepts were chosen by the AI, because a reference photo carries no dimensions. Do not count tiles from these images. Work out the boxes in the Tile Calculator →
A workflow for tile showrooms and shops
- Ask for a clear room photo that the owner has allowed you to use. Shoot from the doorway or a corner so plenty of floor is visible, move rugs if possible, and avoid photos that show personal information.
- Photograph the tile you want to discuss: straight from above, in even light, with no price label or hand shadow. For marble or stone looks, pick a photo that shows the main veins.
- Open Tile simulation mode, upload the room photo, then choose or upload one floor tile, one wall tile, or both.
- Compare the concept with the original photo and the tile photo, as in the table above. Note what changed, such as missing veins or tile size, and say that the image is an AI concept.
- Show physical samples, measure the room directly, then work out the boxes with 5–10% spare for a straight layout or about 15% for diagonal and herringbone before quoting.
What should you check?
This is an AI concept, not a real installation photo or a guarantee of product accuracy. In these examples the copper veins almost disappeared and the marble came out whiter than its reference. Do not treat it as proof of exact colour, pattern, tile size, grout or SKU. Room sizes also cannot be read from an unmeasured photo. Use physical samples and real measurements for purchase decisions.
Existing completed results belonging to the Arch.AI maker, reused from History without regeneration. This demonstrates the product workflow; it is not a customer case study or evidence of increased sales.
Frequently asked questions
How many tile photos can I use per simulation?
One floor tile and one wall tile per room photo. You can use either one or both.
Will the colour and pattern match the real tile exactly?
No. The AI can change colour, pattern and tile size. In these examples the copper veins almost disappeared and the marble came out whiter. Always check against physical samples.
Can I read the number of tiles or boxes from the result?
No. The tile size and grout in the image are chosen by the AI, and an ordinary photo has no verified measurements. Measure the room directly, then use the Tile Calculator.
How much does one simulation cost?
Each simulation uses 1 token. The Starter pack is Rp25,000 for 5 tokens. New accounts get 3 free tokens to try it.
The Starter pack is Rp25,000 for 5 tokens. One token covers one tile simulation attempt. New accounts get 3 free tokens.
From ideas to business use
Tile showrooms
Discuss flooring choices using a visual concept. Use physical samples and room measurements for the final decision.
See the example and workflow →